
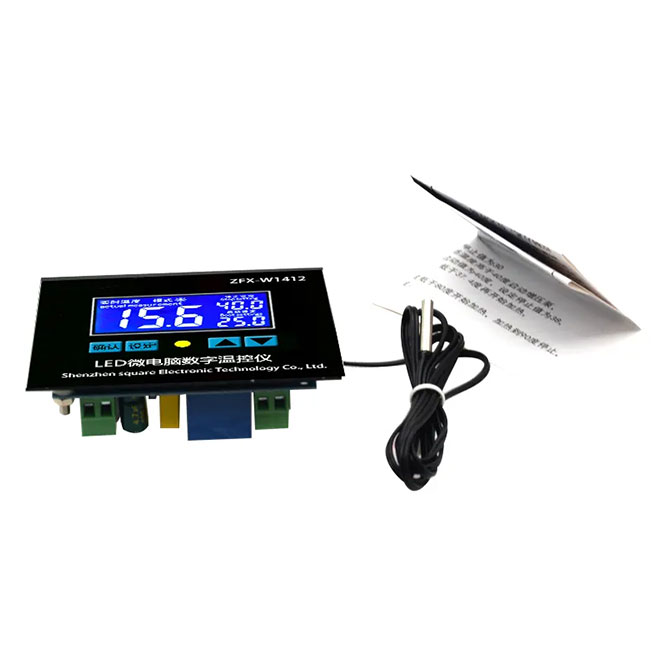


Temperature Controller
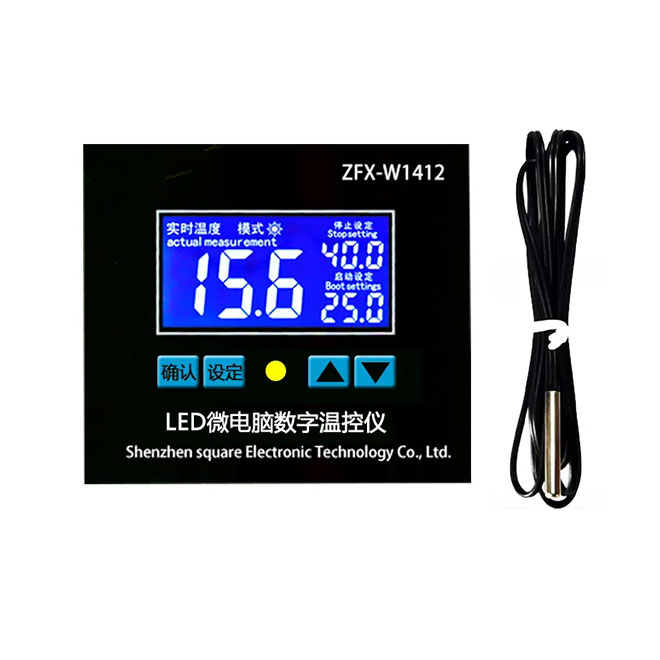
ZFX-W1412 is a high-end LCD screen display, embedded installation, full temperature control, -40~105℃, measurement and temperature control accuracy is accurate to the last digit of the decimal point, and the window can simultaneously display the actual temperature and the set temperature ,
")
W3001 Microcomputer controller instruction
Product name:Microcomputertemperature controller
Power supply:12V/24V/220V 12V-60V
Temperature detect range: -40℃-105℃
Temperature control range:-40℃-105℃
Temperature accuracy:0.1℃
Measurement input:NTC10K waterproof L=1m
Output type :Output direct
Max capacity :Max 10A
Appearance size: 92*80mm
Panel description
")
Start temperature< stop temperature (the program automatically judges that the working mode is heating)
Start temperature >stop temperature (the producer automatically judges that the working mode is cooling).
Set up and use Products are divided into high temperature start (cooling mode) low temperature start (heating mode), 2 control methods You can choose the appropriate mode according to your needs For example, controlling the farm (heat dissipation) is the cooling mode Start when the temperature is higher than 35℃, and stop when it reaches 30℃ Press the set key to set the start value to 35℃ and the stop value to 30℃ For example, control the incubator to start heating at 37.4℃ and stop heating at 37.6℃ Set the starting temperature to 37.4℃, and the stopping temperature to 37.6℃
Fault code explanation
Show LLL The sensor is faulty, not installed in place, or the sensor is off, or reinstall a new sensor Show HHH Beyond the detection range of the sensor, the measured temperature should be less than 105°C Respond automatically when it reaches the normal test range Show ADJ When the measured temperature is inaccurate, you can calibrate the temperature, press and hold the set button for 3 seconds, ADJ is displayed, and the temperature can be set by the up and down keys
Product wiring
Note: DC12V/24V/48V110-220V wiring method is the same (but 12/24v/48v wiring needs to distinguish between positive and negative poles)
")
Product specification distinction
")
Setting example
")
")
")
Scope of application
")
installation steps: 1. Put four screws on the black plastic panel, pay attention (put in from the concave side) 2. Put 4 plastic posts on the screws 3. Fasten the motherboard on the panel and lock it with a nut 4. Plug in the sensor 5. Make a hole 77*70mm on the installed equipment 6. Embed in the motherboard, peel off the sticker and double-sided adhesive to stick it on
contact
Be the first to know about our new product launches, latest blog posts and more. Shenzhen Square Electronic Technology Co., Ltd., founded in 2016, is a high-tech enterprise engaged in the R&D, production, sales and integration of intelligent temperature and humidity controllers. T... Any question or request?
Click below, we’ll be happy to assist. contact